Showing posts with label Rohit Gopidi. Show all posts

Friday, June 10, 2016

rohitgopidi
>>>from sklearn import feature_extraction rohitgopidi
while installing, if you encounter the below
from ._sparsetools import csr_tocsc, csr_tobsr, csr_count_blocks, \
ImportError: DLL load failed: The specified module could not be found.
rohitgopidi rohit gopidi
then install the dependency Visual C++ Redistributable for Visual Studio 2015 from https://www.microsoft.com/en-us/download/confirmation.aspx?id=48145
rohit gopidi
rohitgopidi rohit gopidi

rohitgopidi

Different NLP's

OpenNLP
Natural Language Toolkit (NLTK)
Stanford NLP
MAchine Learning for LanguagE Toolkit (MALLET)
LingPipe
Freeling
TreeTagge
NLP's

rohit gopidi
rohit gopidi

steps to install numpy and scipy on windows environment for Python 3.x

PIP is provided by default in >Python 3.4 rohitgopidi
1. Open windows CLI (From start, go to RUN and type : CMD)
2. Go to the following URL to download numpy wheel : http://www.lfd.uci.edu/~gohlke/pythonlibs/#numpy and for scipy use http://www.lfd.uci.edu/~gohlke/pythonlibs/#scipy rohit gopidi
3. Before downloading numpy/scipy from the above URL, check which version is supported on your platform by using the following command in your CLI  :  print(pip.pep425tags.get_supported())
4. Download the appropriate wheel
5. Use the following command to install numpy:  pip install numpy-1.10.4+mkl-cp35-cp35m-win32.whl rohitgopidi
 for scipy : pip install scipy-0.17.0-cp35-none-win32.wl
6. Following message will be displayed
Installing collected packages: numpy
Successfully installed numpy-1.10.4
7. Done

Steps to install scientific computing packages Numpy and Scipy fpr Python 3.x on Windows environment

rohitgopidi
rohitgopidi rohit gopidi
rohitgopidi
rohit gopidi rohitgopidi

Using NLTK tool kit to classify text using predefined libraries

install and import below libraries

rohitgopidi
rohitgopidi
Reading the training dataset from a CSV, this can also be done from any file format or from any source
rohitgopidi
rohitgopidi
Once the train data is read, you can tokenize and stem if you prefer. This step can be skipped as tokenization can be done in the next steps while calculating TFIDF
rohitgopidi
rohitgopidi
Append the tokenized content , can be skipped if not using tokenizing in the previous step
rohitgopidi
rohitgopidi
Calculating count vectorizer to find the importance of the text in the document
rohitgopidi
rohitgopidi
Using Naive_Bayes library to train and predict
rohitgopidi
rohitgopidi
Test your training model by submitting your new sentence
rohitgopidi
rohitgopidi

Thursday, August 23, 2012

Event ID 3002 - LoadPerf— Performance Counter Loading

Add caption
Event ID 3002 — Performance Counter 
Loading

Performance counters are collected and used by services and applications. If they are installed incorrectly or with improper permissions, performance counters cannot be loaded, and services or applications cannot collect or interpret the data.
Log from the Event Viewer
Log Name:      Application
Source:        Microsoft-Windows-LoadPerf
Date:          XXXXXXXXXXXXXXXXXXX
Event ID:      3002
Task Category: None
Level:         Error
Keywords:      
User:          SYSTEM
Computer:      XXXXXXXXXXXXXXXXXXXXXXXXXXX
Description:
The performance counter explain text string value in the registry is not formatted correctly. The malformed string is  . The first DWORD in the Data section contains the index value to the malformed string while the second and third DWORDs in the Data section contain the last valid index values.
Event Xml:
<Event xmlns='http://schemas.microsoft.com/win/2004/08/events/event'><System><Provider Name='Microsoft-Windows-LoadPerf' Guid='{122EE297-BB47-41AE-B265-1CA8D1886D40}'/><EventID>3002</EventID><Version>0</Version><Level>2</Level><Task>0</Task><Opcode>0</Opcode><Keywords>0x8000000000000000</Keywords><TimeCreated SystemTime=XXXXXXXXXXXXXXXXXX'/><EventRecordID>110899</EventRecordID><Correlation/><Execution ProcessID='5288' ThreadID='284'/><Channel>Application</Channel><Computer>W</Computer><Security UserID='S-1-5-18'/></System><UserData><EventXML xmlns:auto-ns2='http://schemas.microsoft.com/win/2004/08/events' xmlns='LoadPerf'><param1> </param1><binaryDataSize>16</binaryDataSize><binaryData>00000000AB2E0000AB2E0000980B0000</binaryData></EventXML></UserData></Event>

Resolve:
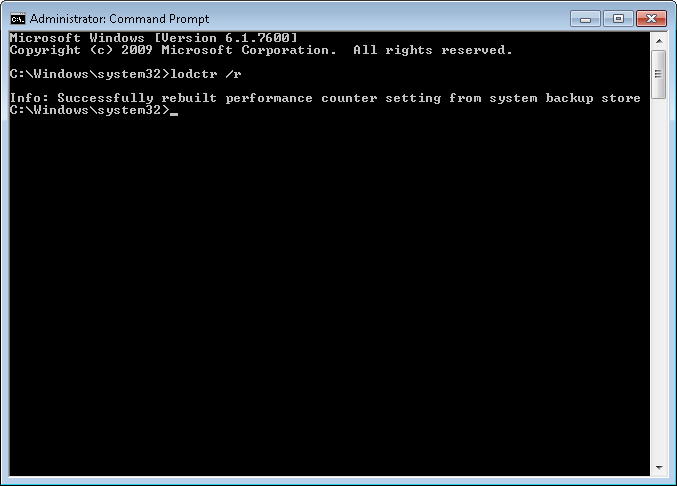
Open your Command Prompt as an administrator and type in the below command and Enter
>>lodctr /r

Thursday, August 16, 2012

Maintaining the Mac address of a VM


Make the below changes to the config file of the VM which is generally with .vmx extension 

Remove the three lines that begin with the following from the configuration file:
ethernet[n].generatedAddress
ethernet[n].addressType
ethernet[n].generatedAddressOffset
In these options, [n] is the number of the virtual Ethernet adapter — for example ethernet0.
Add the following line to the configuration file:
ethernet[n].address = 00:50:56:XX:YY:ZZ (XX has to be hexadecimal number between 00h and 3Fh, and YY and ZZ must be valid hexadecimal numbers between 00h and FFh  )

Windows 8 installation procedure on a VM with Ubuntu or any Linux based OS as the Host

Windows 8 installation procedure on a VM with Ubuntu or any Linux based OS as the Host


Microsoft has recently released the preview version of the most awaited Windows 8 which has no icons but a bunch of cool Apps. Below is the procedure for full installation on Windows 8 , this is a pretty simple install but there is a tricky part that has to be done during the installation in order to get the internet working on your new Windows 8.
  1. Create a Virtual Machine


. In the New Virtual Machine wizard use the below option


  1. Choose Windows 7 as your new OS (this does the trick for internet access on Windows 8)
  2. Use the settings as per your requirement


  1. You will see the below screen which completes the creation of VM without an OS

  1. Now we have to install the OS in the VM , customize the hardware as per your requirements
  2. Select your ISO image destination and start installation on Windows 8


  1. Choose your options


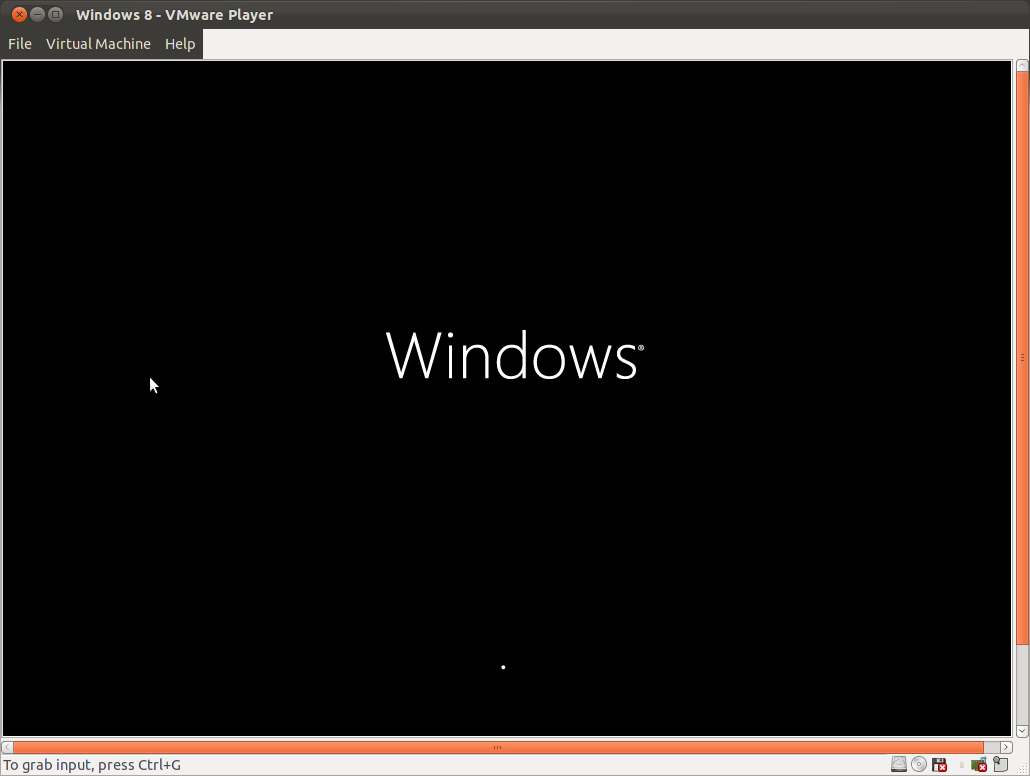
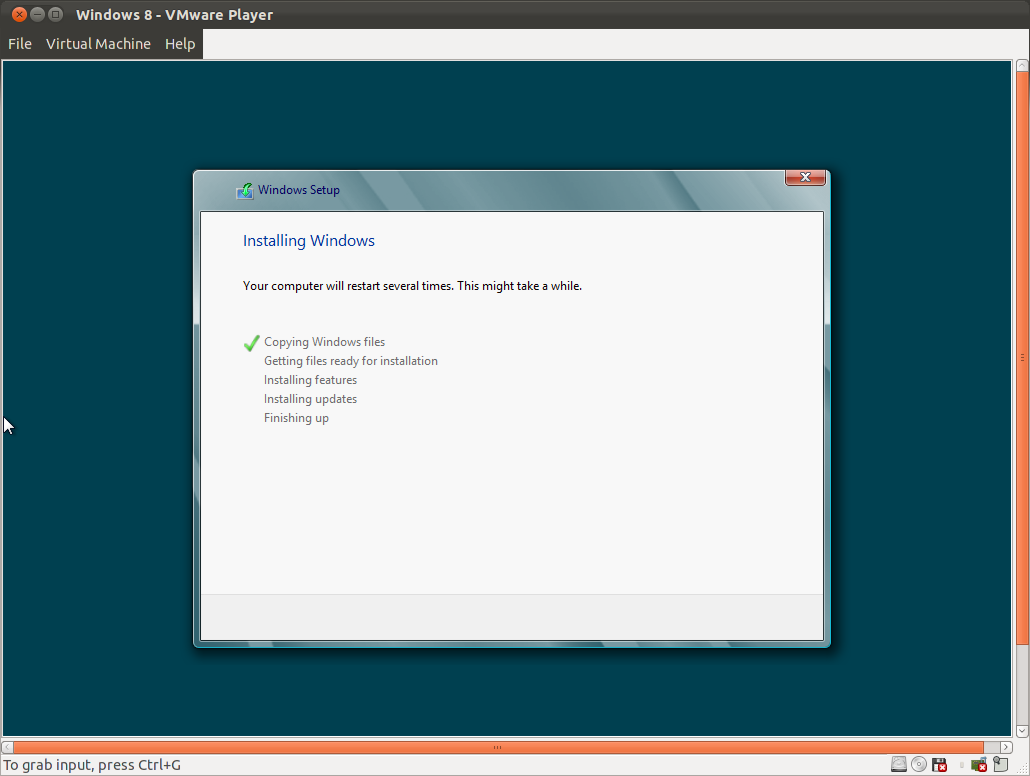
  1. Start the installation
  2. Followed by the activation window


  1. Read and accept the agreement


  1. Select the options below (2nd option for the fresh install)


13. Select the drive for installation

  1. Done and Personalize


Monday, May 14, 2012

SQL Server Upgrade Procedure


Querying Active Directory

In order query the Active Directory :

1.Right Click on your mouse and click new>shortcut
2.Paste the below into the shortcut location
%SystemRoot%\SYSTEM32\rundll32.exe dsquery,OpenQueryWindow
3.Double click the shortcut now and you can search the whole of AD.


Wednesday, March 21, 2012

Qlikview Installation Guide


These days every organization maintains large amount of data which is used to generate useful reports or create dashboards adding a lot of value to the organization. Qlikview is one such BI tool that delivers enterprise-class analytics and search. Its in-memory associative search technology makes calculations in real-time, enabling business professionals to gain insight through intuitive data exploration.

Qlikview Installation Guide
Download

  1. Download Qlikview installation setup file from http://www.qlikview.com/us by following the procedure below

  1. Click on the Start using QlikView today tab as show in the above image
  2. Register with Qlikview or login using your credentials if you already have an account with Qlikview
  3. Select the language and version of Qlikview to be downloaded and click Download QlikView Now


Installation

The below are the steps to be followed for the installation of Qlikview 64bit edition
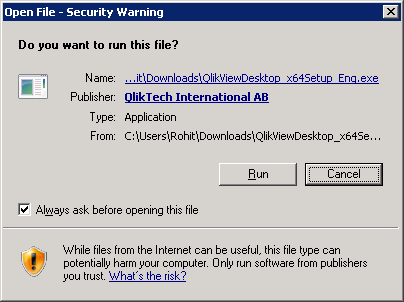
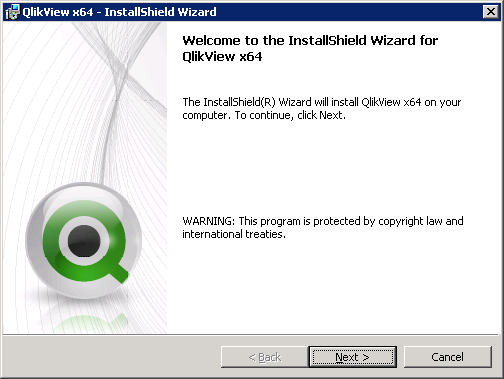
  1. Launch the setup file “QlikViewDesktop_x64Setup_Eng “ and hit the Run button

  1. It is followed by the below screen


  1. Hit the Next button in the Installation Wizard screen

  1. Select the Region in the below screen and hit Next
  2. Read through the License Agreement and check the radio button followed by the Next button

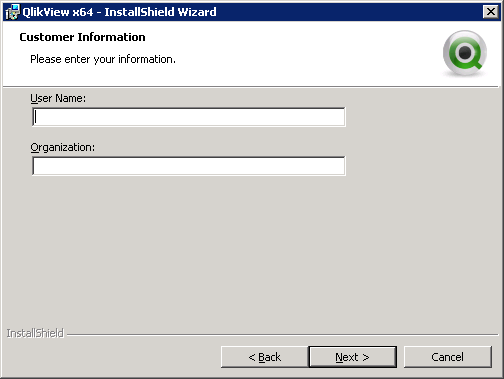
  1. Enter the required information in the below screen and hit the Next Button


  1. Choose the installation path and hit Next, by default the path is C:\Program Files\Qlikview\

  1. Select the type of installation below and hit Next, this guide is subjected to Complete installation

  1. Hit Install button below to perform the installation

  1. Hit the Next Button below


  1. It is followed by the below screen

  1. After the installation has been finished, hit the Finish button

  1. At this stage, the installation of Qlikview has been successfully completed.

Accessing Qlikview

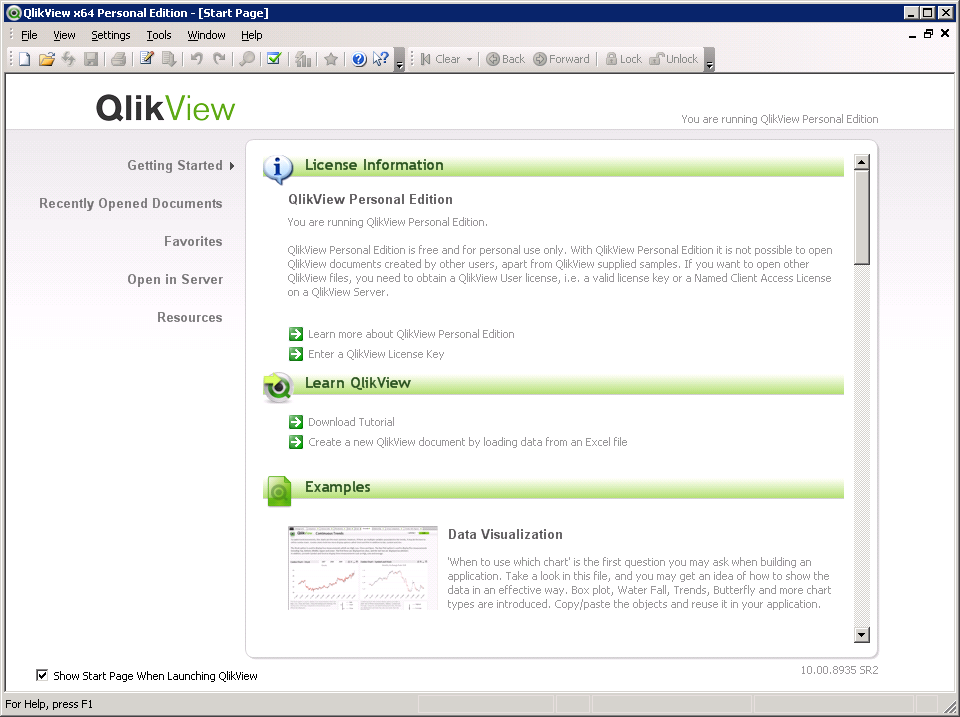
  1. Go to Start and navigate to Qlikview through All Programs

  1. After Qlikview is launched, it is followed by the below screen


Requirements for Qlikview

The below are the minimum System requirements for installing Qliview 10


Operating system


Windows XP Professional x64 Edition
Windows Vista x64
Windows 7 x64
Windows Server 2003 x64 Edition
Windows Server 2008 x64 Edition
Windows Server 2008 R2


Processor


Intel Core 2 Duo or higher recommended


Memory


2 GB minimum. Depending on data volumes more may be required.


Disk space


300 MB total required to install


Security


Microsoft Active Directory
NTLM
Third-party security